


Maximize Next.js Performance: The Hidden Power of Lazy Loading and Code Splitting


Table of contents
Imagine a web application that loads instantly, with components and resources loading only when needed. A user experience so seamless it feels like magic. Is it possible to achieve such lightning-fast performance without sacrificing functionality? The answer lies in the dynamic duo of lazy loading and code splitting.
We will explore how to implement these powerful techniques in Next.js, a popular framework for building React applications. Get ready to uncover the secrets of lazy loading and code splitting as we delve into their concepts, understand their benefits, and learn how to apply them in our Next.js projects.
Let's get started 🚀
What is Lazy Loading?

Lazy loading is a technique that defers the loading of non-critical or less frequently used components or assets until they are needed. By lazy loading these resources, we can reduce the initial bundle size and improve the initial load time of our application.
What is Code Splitting?
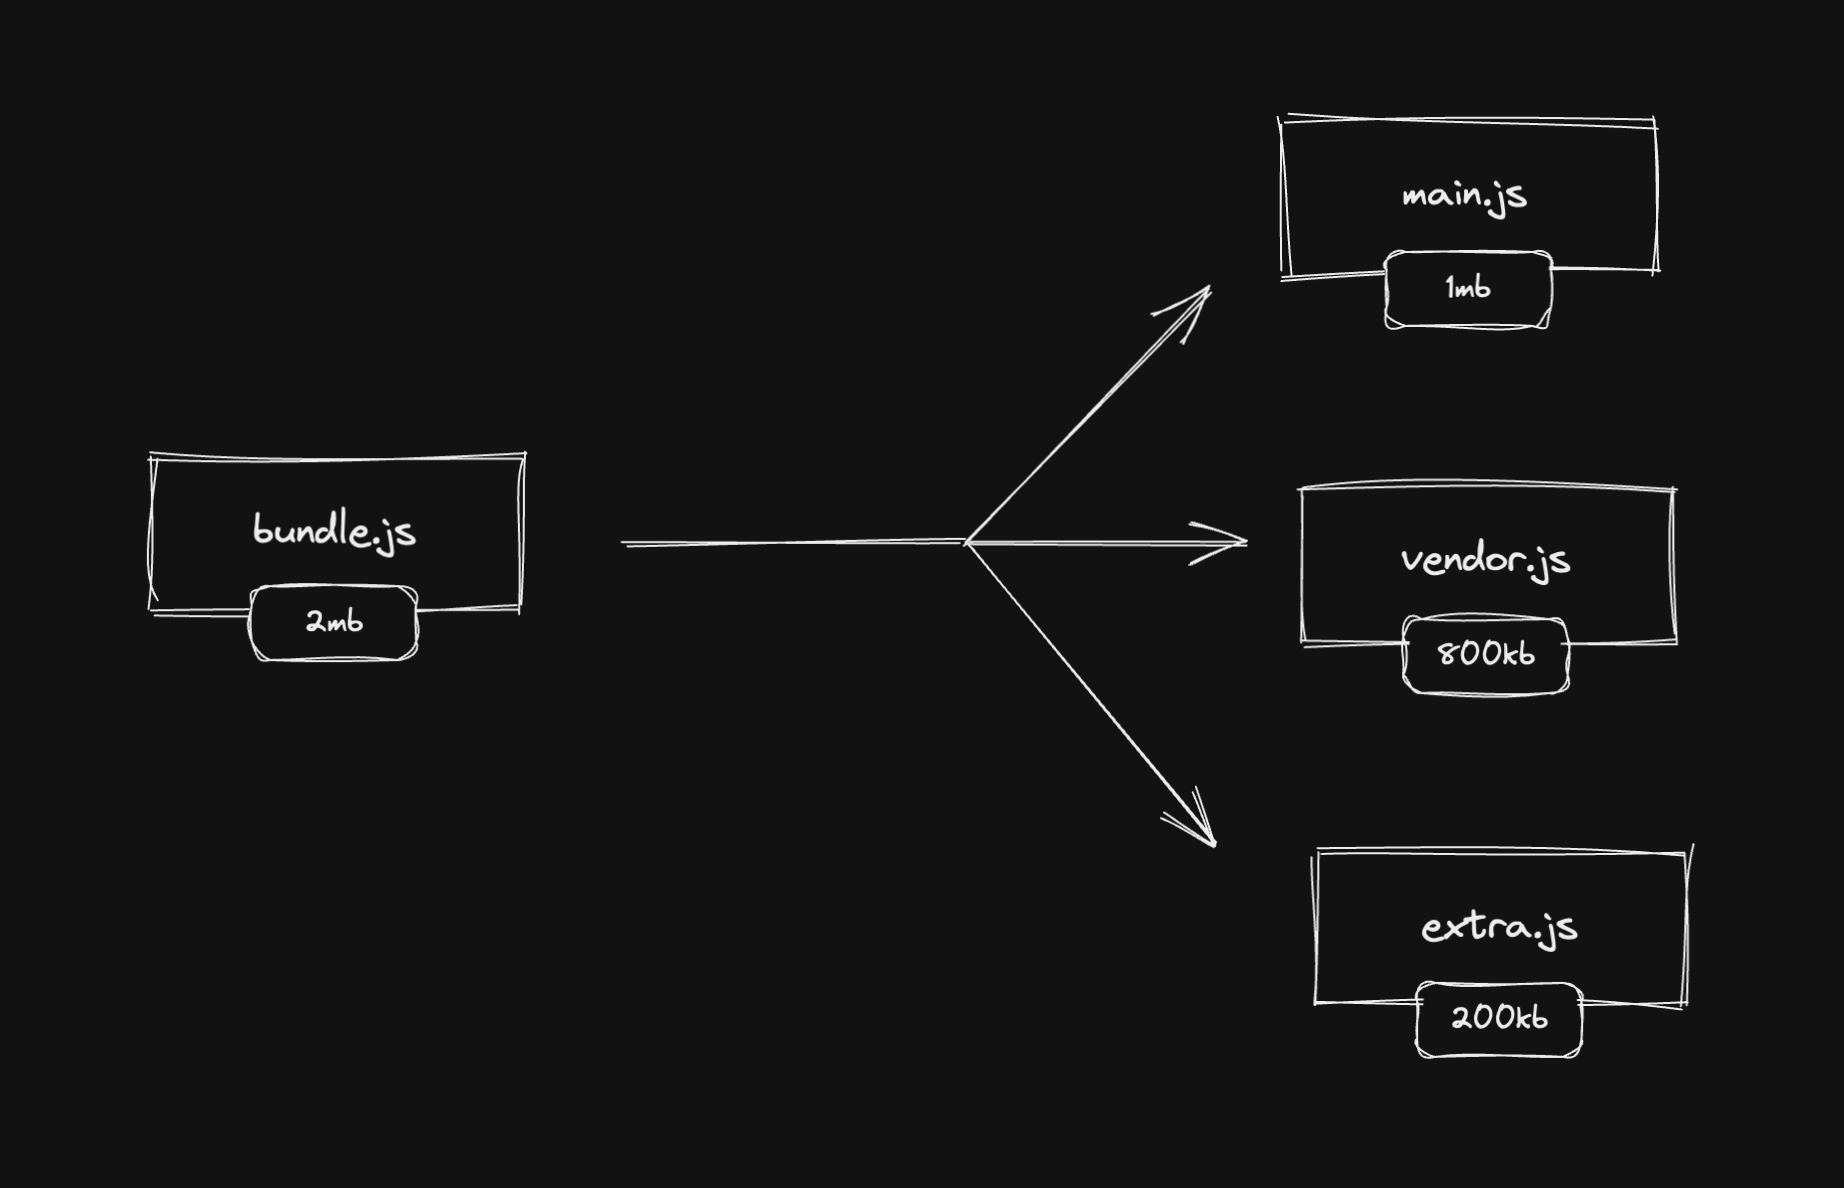
Code splitting is the process of breaking down our application's JavaScript bundle into smaller, more manageable chunks. Instead of loading the entire JavaScript bundle, code splitting allows us to load only the necessary parts of our application when required, reducing the initial load time.
Implementing Lazy Loading and Code Splitting in Next.js
Next.js provides built-in support for lazy loading and code splitting, making it easy to optimize our applications. Let's explore the steps involved:
Installing Dependencies
First, make sure you have Next.js installed in your project. If not, you can install it by running the following command:
npm install next
Lazy Loading Components
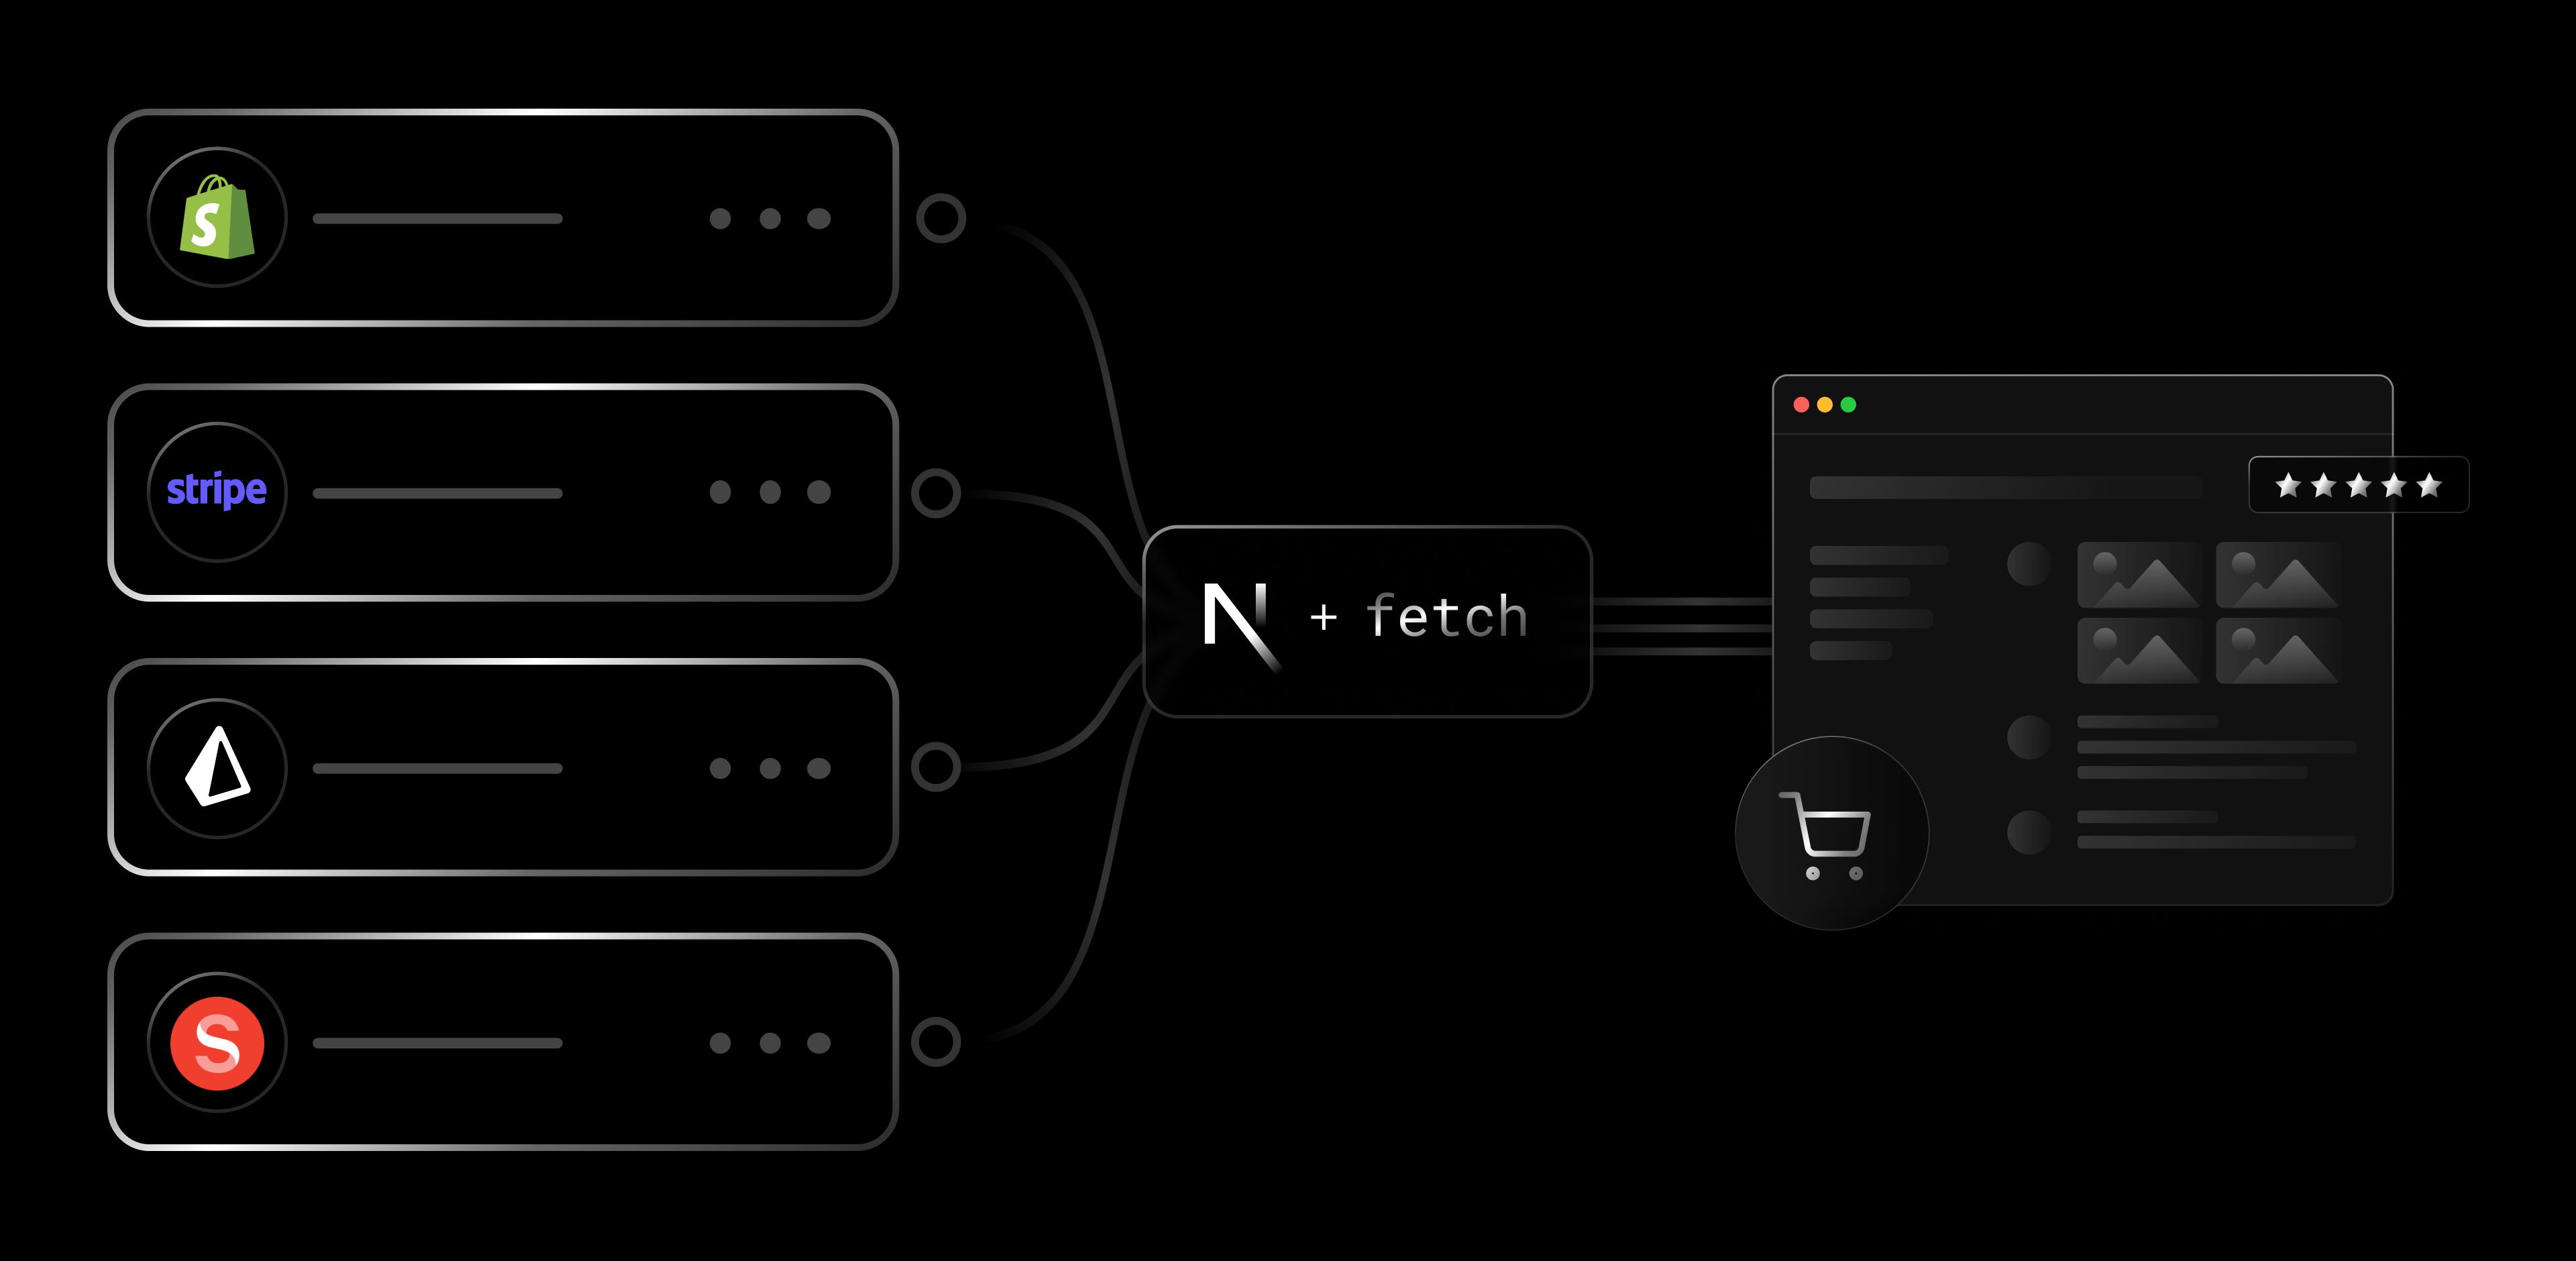
Lazy loading components in Next.js is a powerful technique that allows us to load components only when needed. To achieve this, we can use the dynamic import syntax provided by Next.js. Let's break it down with a more relatable example:
import dynamic from 'next/dynamic';

// Lazy load the ImageGallery component
const ImageGallery = dynamic(() => import('../components/ImageGallery'));

function HomePage() {
  return (
    <div>
      <h1>Welcome to My Website</h1>
      <ImageGallery />
    </div>
  );
}

export default HomePage;
In the above code snippet, we import the dynamic function from Next.js. This function enables us to lazily load the ImageGallery component, which is stored in the ../components/ImageGallery file. The dynamic import statement ensures that the component is loaded only w rendered on the page.
Advanced Usage: Loading Indicator
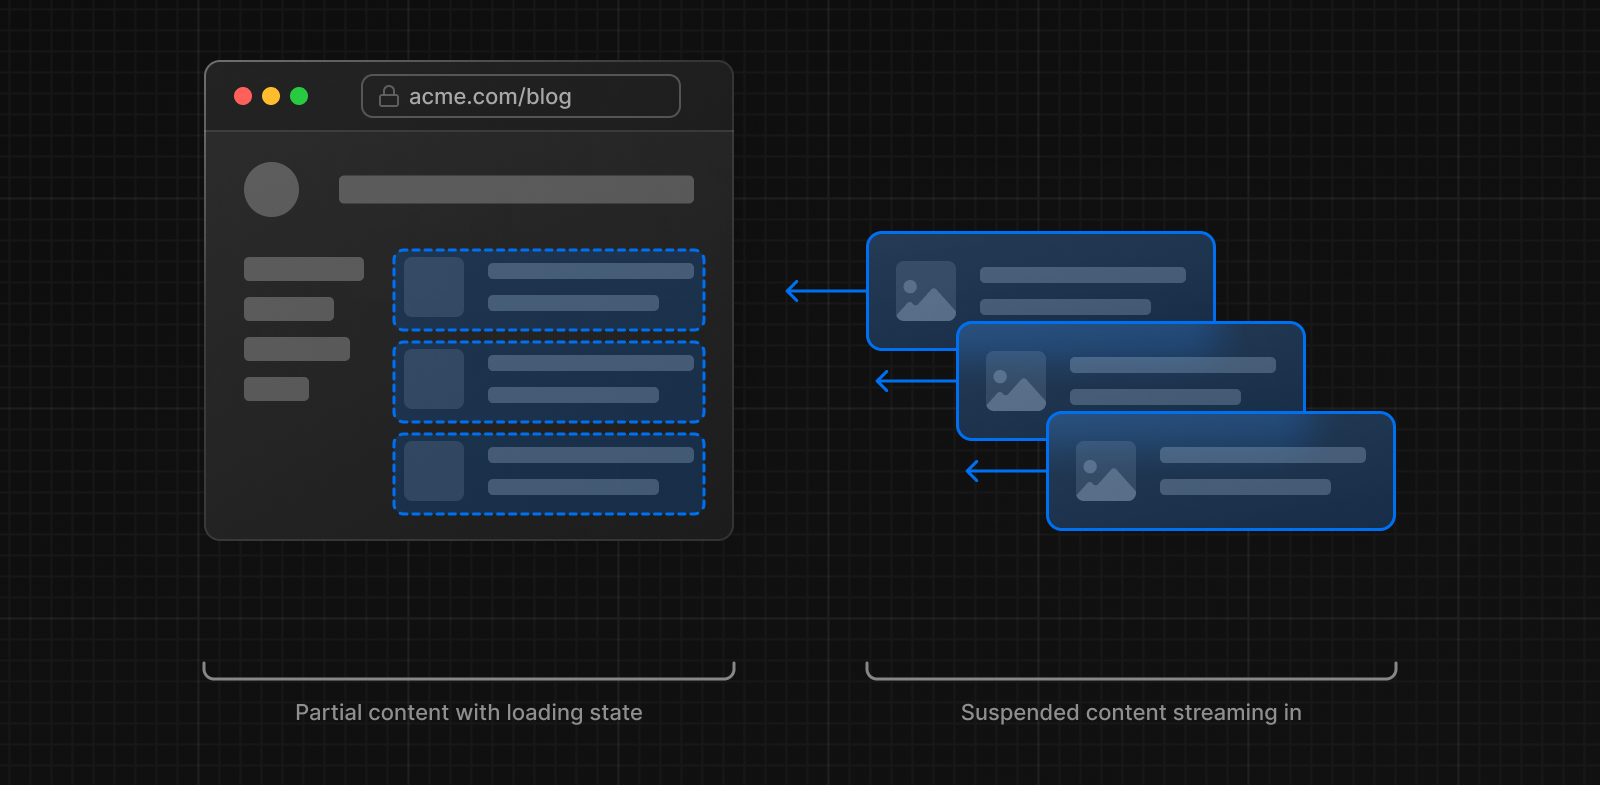
When implementing lazy loading, it's a best practice to provide a loading indicator or fallback content to enhance the user experience. Next.js simplifies this process by offering a loading property. Let's take a look at an example:
const ImageGallery = dynamic(() => import('../components/ImageGallery'), {
  loading: () => <p>Loading...</p>,
});
Here we pass a loading function to the dynamic import statement. This function will be executed while the ImageGallery component is being loaded. Within the loading function, we can render a loading indicator or any other content we want to display during the loading process. In this case, we render a simple paragraph that says "Loading..." until the component is fully loaded.
By incorporating lazy loading with a loading indicator, we can ensure a smoother user experience by letting users know that content is being loaded in the background. This prevents them from encountering long loading times without any visual feedback.
Lazy loading components and adding loading indicators are valuable techniques that can significantly improve the performance and user experience of our Next.js applications. By loading components only when necessary and providing visual feedback during the loading process, we can create snappy and responsive websites that keep users engaged.
Code Splitting Routes
Next.js empowers us to split our routes, allowing more control over our application's bundle size. We can achieve this by leveraging the next/dynamic import syntax in conjunction with the Link component from Next.js. Let's explore a simplified example:
import dynamic from 'next/dynamic';
import Link from 'next/link';

// Lazy load the About page component
const About = dynamic(() => import('../pages/about'));

function HomePage() {
  return (
    <div>
      <h1>Welcome to My Next.js App</h1>

      <Link href="/about">
        <a>About</a>
      </Link>
    </div>
  );
}

export default HomePage;
In the above code snippet, we use the dynamic function to load the page component lazily. By wrapping the import('../pages/about') statement inside the dynamic function, we ensure that the component is loaded only when the user navigates to the About page.
Advanced Usage: Preloading
To further optimize the user experience, Next.js preload the code for a specific route. This reduces the loading time when the user navigates to that page. Let's take a look at an example:
<Link href="/about" prefetch>
  <a>About</a>
</Link>
In this example, we add the prefetch attribute to the Link component. By doing so, Next.js will preload the code for the linked page in the background. This means that when the user eventually clicks on the "About" link, the code for the About page will already be loaded, resulting in reduced waiting time and a faster transition to the target page.
By leveraging code splitting and preloading, we can significantly enhance the performance and user experience of our Next.js applications. The ability to lazily load components and routes, combined with the option to prefetch code for specific routes, ensures that our application loads only the necessary code when needed, resulting in faster page transitions and improved overall performance.
With Next.js, implementing code splitting and preloading becomes an effortless task, allowing us to optimize our bundle size and initial load time without compromising functionality. Embrace these powerful techniques and witness the transformative impact they can have on your Next.js projects.
Benefits of using lazy loading and code splitting
Improved Initial Load Time
Reduces the time it takes for the application to load initially.
Enhances the user experience by displaying content faster.
Faster Page Transitions
Loads only the necessary code for each page or route.
Enables faster transitions between pages, improving user navigation.
Reduced Bundle Size
Breaks down the application's JavaScript bundle into smaller chunks.
Loads only the required code, reducing the overall bundle size.
Improved Performance
Enhances application performance by optimizing load times.
Provides quicker interactions and smoother navigation.
Enhanced Scalability
Enables selective loading of code as the application grows.
Maintains performance and responsiveness as complexity increases.
Better Resource Management
Efficiently utilizes system resources by loading components and assets when needed.
Avoids unnecessary loading of unused resources.
Improved SEO
It benefits search engine optimization by allowing critical content to be crawled and indexed quickly.
Conclusion
Lazy loading and code splitting are powerful techniques for optimizing bundle size and improving the initial load time of our Next.js applications. By deferring the loading of non-critical components, displaying loading indicators, and manually code-splitting routes, we can significantly enhance the performance of our applications.

Next.js makes it simple to implement lazy loading and code splitting, allowing us to accomplish these optimizations. By using the dynamic import syntax for inert loading components and the Link component for code splitting routes, we can leverage Next.js's built-in capabilities for optimizing bundle size and initial load time.
So go ahead, implement lazy loading and code splitting in your Next.js projects, and witness the significant improvements in bundle size and initial load time. Your users will thank you for it!
Follow ReactPlay Blogs for more content, and join me on my socials.
For more information and advanced usage of lazy loading and code splitting in Next.js, refer to the official documentation here.
Note: The code examples provided are simplified for explanatory purposes. An actual implementation may require additional configurations depending on your specific project setup.