


Hi. This is Shyam Mahanta. In this article, I will be taking you on a tour of my recently built application which is called PaperCode, built using ReactJS and Nhost.
What is PaperCode?
papercode is a coding playground tool or a web based IDE which offers to write code in multiple languages like typescript, javascript, python, and C++ and also run or execute them in the browser. More likely replit.com but without its charming features or can say, a basic version of replit.com.
Now I hope you got a basic idea about what papercode is and its purpose. Now let me talk about the tools which are used to build it and how I have used them in this project.
as you saw in the title I have used React to build this tool, and I guess it doesn't need any introduction about what react is. but the backend service I have used, NHOST, you might not be familiar with it or if you do, thats great and I would appreciate it if you explored this great backend tool.
Nhost
So nhost is not any hosting service website as I first read the name rather it is an alternative tool of Firebase with more handful of tools, features and services. It has all the tools for your perfect need to build a web app like papercode i.e. It has GraphQL feature out of the box, it offers SQL database which is on top of hasura, it gives you an authentication system out of the box and also serverless function to build your own endpoint. Apart from these, it has decent response time and uptime as from my experience.
So I guess you have now the idea of what nhost is and moreover you don't have to pay them to start your project as of now the PaperCode is built using their free package quota. You can find more about the pricing and docs on their website.
Frontend Tools and Packages
So the papercode has used some of the popular tools and packages which are
- Monaco Editor - a very rich code editor
- Material UI - UI Librery to build the UI
- Material Icons - Icons provider
- Redux Toolkit - for the state management throughout our app
- Redux Persist - persisting the state
- React Router - routing throughout our app
and a lot more. You might wanna find out more by visiting the github repo of papercode.
How PaperCode works?
Now let me talk about how it works. PaperCode offers flexibility to users in web editor giving shortcut keys to run and save the code and also it has the persistence to prevent data loss on refresing the browser. It has a dashboard to display all the papers of one user and the ability to delete them, change names, etc. Btw I will be adding more and more features to the app in the upcoming days to make it more useful and up to standard since development, I have done it in a hurry so just have some minimal work I was only able to take on.
How do you create your first Paper?
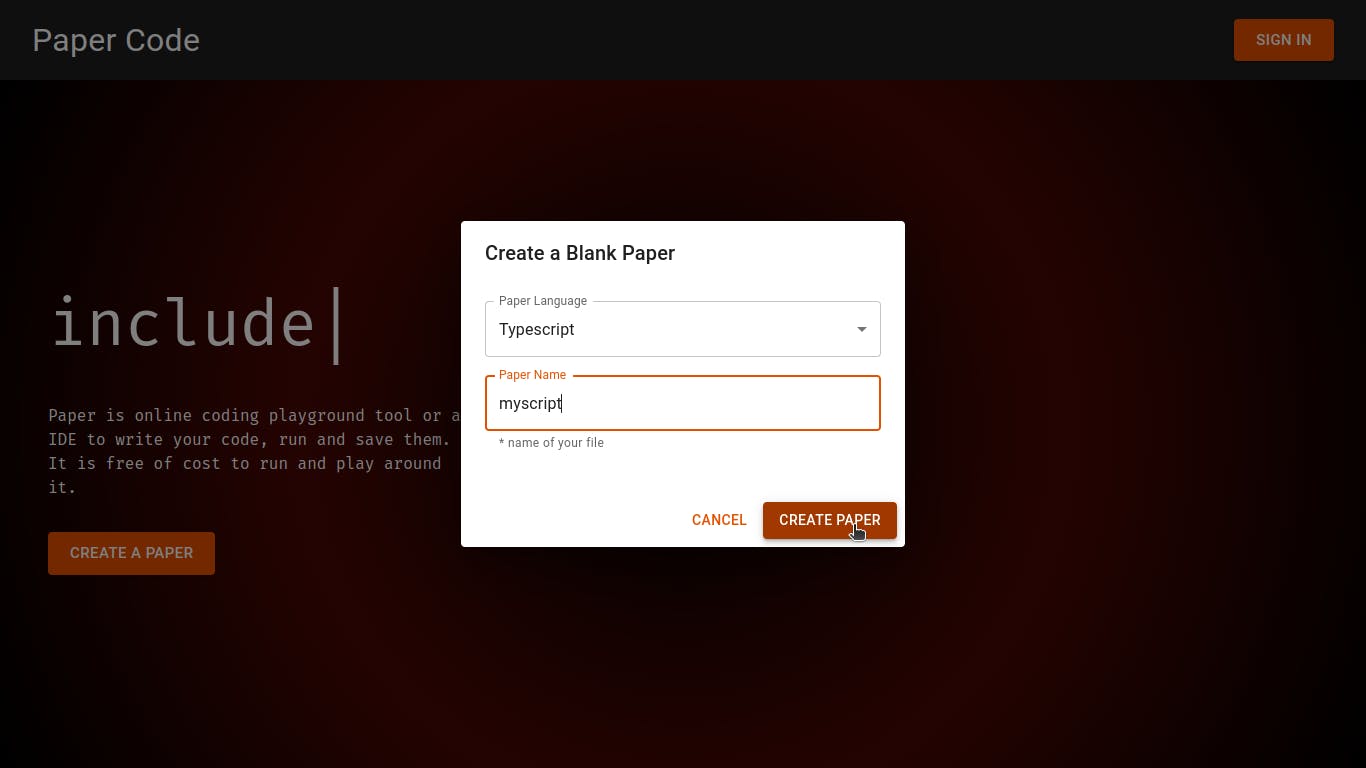
First of all, you might wanna hit papercode.netlify.app on your browser and the homepage of the papercode app will be displayed. Now to create your first paper all you need is to click on create paper button and select your desired language and the desired paper name and hit create button.
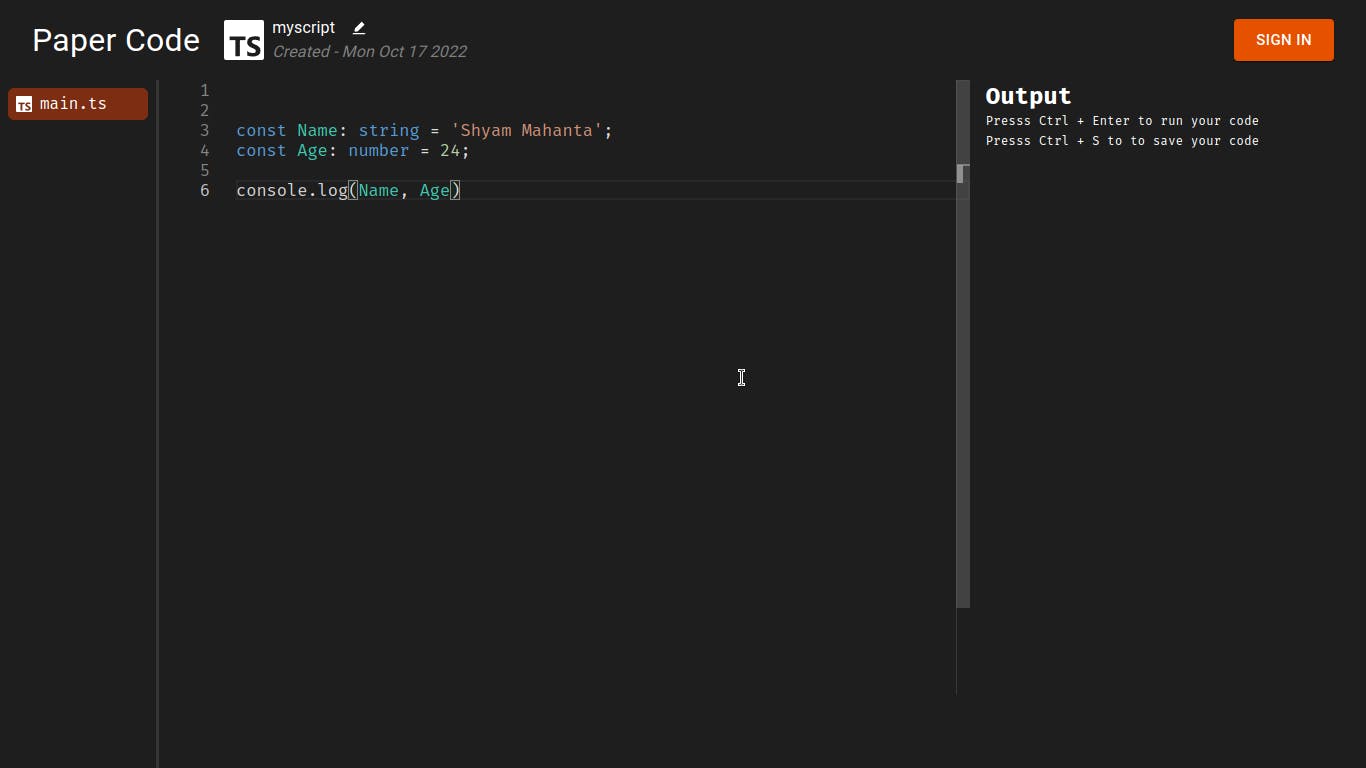
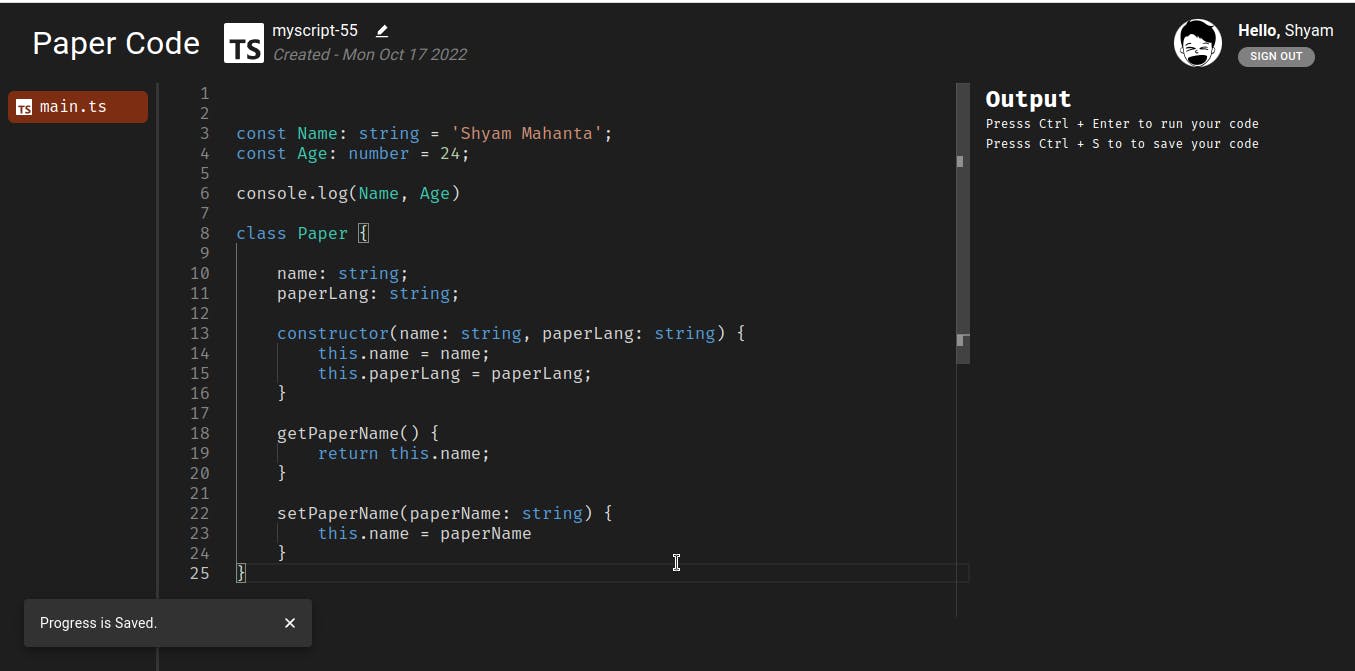
After that you will land on the /code route where you have the playground editor, file section output section and now you are ready to start writing your very line of code in your desired language.
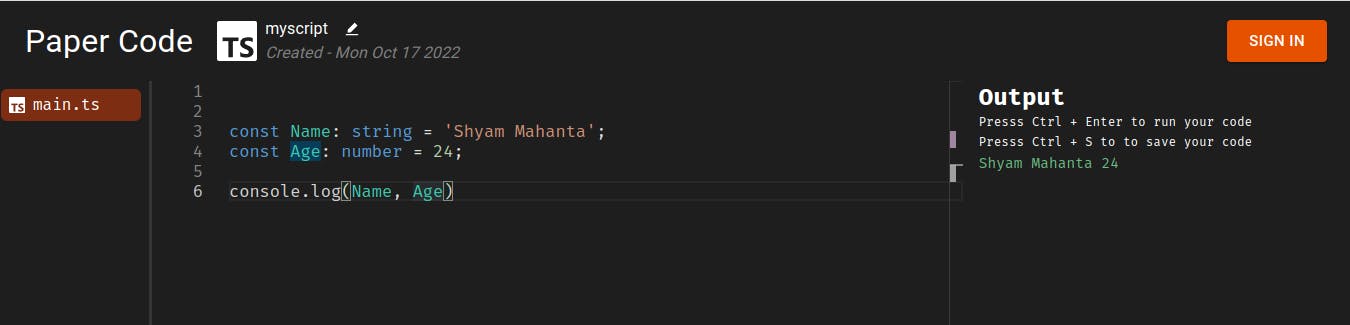
and after done writing, all you need is to hit ctrl + Enter on your keyboard to run your code and you will see the output in the output box, isn't that cool?
Also, you might wanna change your paper name is there an edit symbol on the navbar and you can edit your paper name anytime?


So, there is another shortcut to save your code which is Ctrl + S a standard hit on the keyboard to save your progress. But there, you need to authenticate and sign in using google or github to save your code so that users can come back later and never lose their saved progress.
So Now you might want to click on SIGN IN button on the top right navbar and you will see the popup with options using which you might want to authenticate. You can choose either google or GitHub.

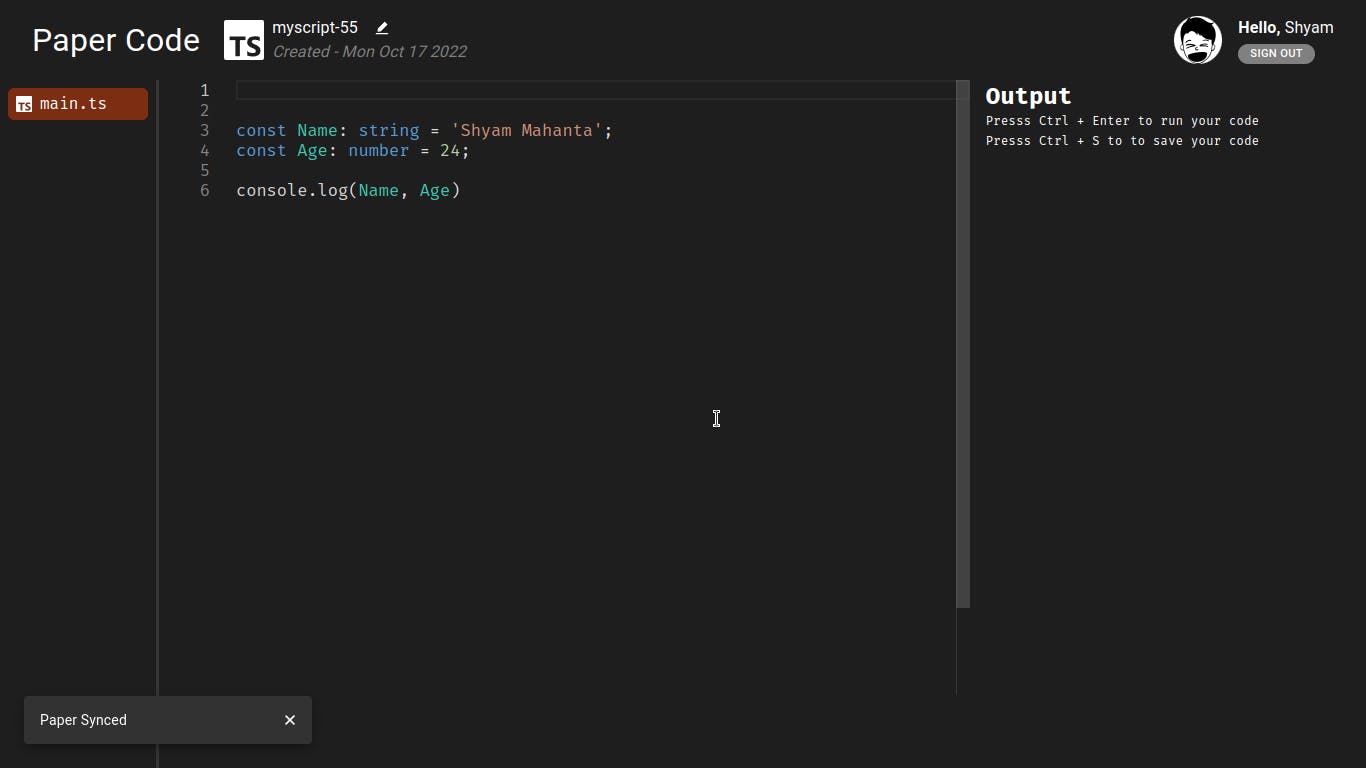
as soon as you are signed in you will see a notification push about your paper being synced now and you will see your profile image and your name on the navbar with a signout button.
That's how easy it is to create your paper and authenticate it to save it. Now your paper is synced, you can keep continue writing code and hit Ctrl + S to save them.
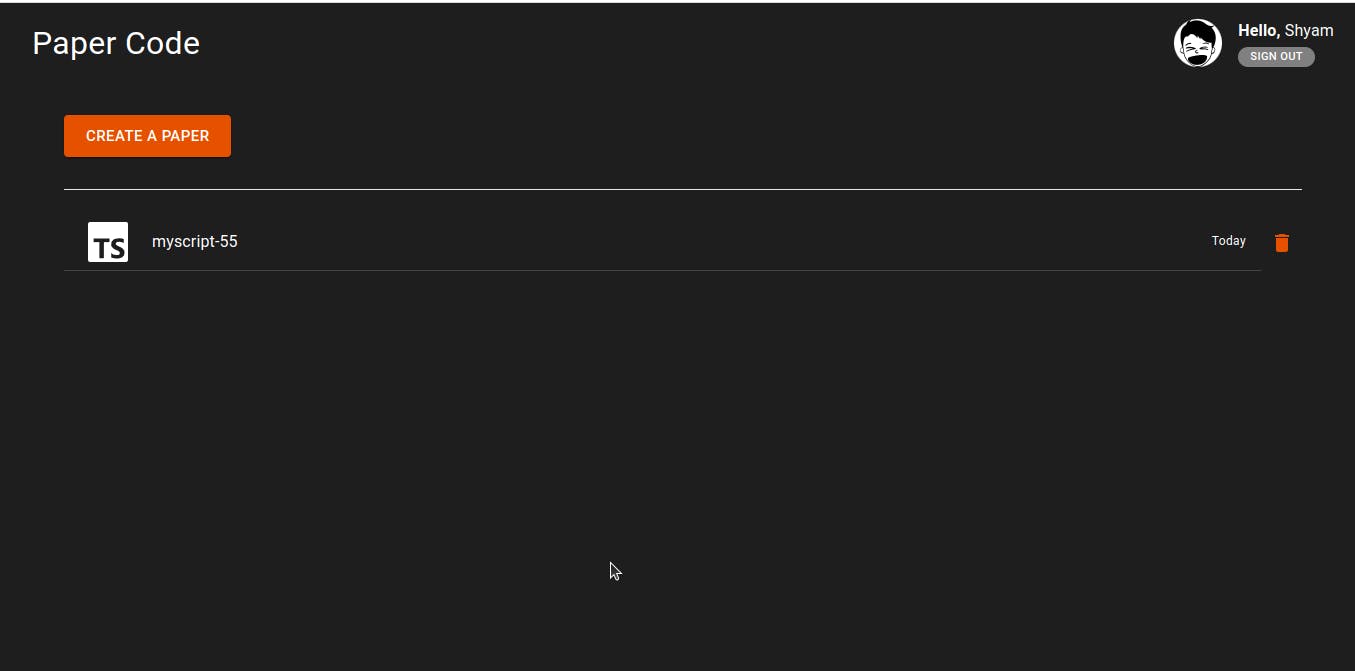
Since you have now authenticated, you can click on the papercode logo icon to reach the dashboard and see all your papers. You can create more paper or delete them from the dashboard and in the future days, I'm adding more features in the dashboard with some standard features like filtering, editing, generating sharable paper links a lot more.
So, I hope you loved the short tour of papercode you might be disappointed not having any coding, but this is only a tour. One article i cannot finish showing the entire coding journey behind this, but i will try posting in parts about how I built this and that part in papercode and I really appreciate your time reading this article and putting interest in papercode tour. Thank you so much.